

Quilted Easter Basket Tutorial
We're re-sharing one of our oldest & most-pinned tutorials from back in the "Blogger Days!" ;-) (p.s. Wow ... photograph has come a long way!)

Anyway ... something to note about the tutorial. I took pictures while making my prototype (pink, flowery version). For the blue and green baskets above I modified the size a little (smaller)and I like it better. The method is the same, but I will give you the measurements for the slightly smaller ones above.
Materials Needed (per basket):
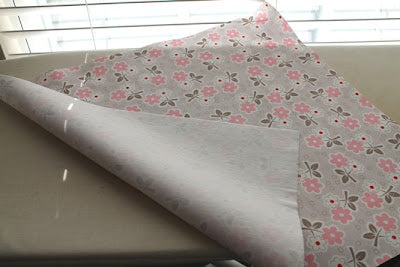
- 1 FQ for outside of basket & strap
- 1 FQ for lining
- 1 FQ for backing of quilted lining
- Batting (1 FQ)
- Heavyweight fusible interfacing (1 FQ)
- Marking pen (such as the FriXion pen)
- Basic Sewing Supplies (machine, thread, iron, etch)
From your outside fabric FQ, cut two pieces - one 15" x 18" rectangle and one 6" x 18" rectangle. Iron fusible interfacing to the wrong side of both pieces.
Next, fold the larger rectangle in half and pin along the edges. (Folded rectangle should measure 15" x 9".)

Then, stitch along edges using a 0.5" seam. Press the fold well before moving on to the next step.
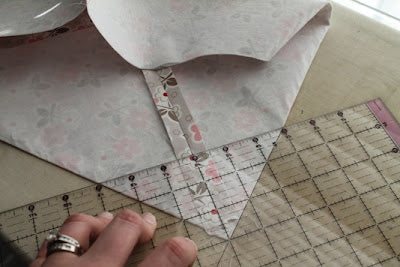
Fold the side seam up along the pressed fold on the bottom to form a point as shown. Press the point and side seam open.

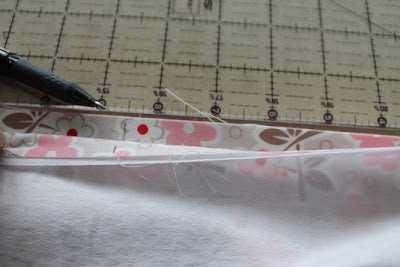
Mark a line to stitch along using a ruler. I like to use a ruler that has a 45 degree angle line on it. (NOTE - photo shows 3" from seam on each side, or a 6" long line from edge to edge. For the blue and green baskets, I measured 2.5 inches from the seam to the edge of the triangle - or a line that is 5" from one edge to the other.)
Stitch along the line. Repeat on the opposite side.

Once you turn it right side out, it should stand up.

Set the outside of the basket aside for now. Layer the backing fabric FQ, batting, and then lining fabric FQ to make a quilt sandwich. Quilt as desired. Trim to 15" x 18".

Now, repeat the process to create the basic basket like you did with the outer fabric. Fold and pin.

Stitch the corners on both sides as before.

Now, lets make the handle. Take the 6" x 18" piece of outer fabric (with the fusible interfacing on the wrong side). Fold it in half. Then fold the edges into the center, using the fold mark as a guide. The fold in half.

Stitch along both edges and then the center of the handle.

Trim the handle to 16" long and then mark the center of the outer basket shell on both sides.
Attach the strap with a line of stitches 1/4" from the edge.

Now, let's put it all together. The lining of the basket should be WRONG SIDE OUT!!! The outer shell should be RIGHT SIDE OUT. Place the outer shell inside the lining. RIGHT SIDES ARE TOGETHER.

Start by pinning at the side seams. Then pin your way around the top of the basket.

Then carefully stitch around the top of the basket using a 0.5" seam. Leave about a 3" opening between one side seam and handle.

Turn the basket right sides out. Press the seam well and pin the opening closed. Top stitch around the top of the basket about 1/4 from the edge. This will close the opening and keep everything in place.

You're all finished! Admire your work! :-)
I first made this basket 12 years ago for our first grandchild, and I just finished my fifth – for our fifth! Each basket is different, and has been a joy to make. This last one I used a piece of flex foam instead of batting, but I wouldn’t recommend doing that – quilting was awkward, and turning it inside out was a challenge; I had to keep taking stitches out from both sides of my original 3" opening in order to get it through. This really is a nice project, can be fun for lots of occasions!
Hi! I just want to say I love this tutorial and pattern! I made it for my oldest three years ago now when they were little and by some miracle managed to find it again to make one for our fourth tonight- after midnight Easter night of course because he needs one to match his big siblings! Thanks for still having it posted!!
Adorable for GetWell basket, too!
Leave a comment